
 CalcBuilder example
Retirement Savings Planner
September 21, 2026

Live result on the frontend
The Retirement Savings Planner projects what a visitor’s savings could grow to by retirement, converts that pot into a sustainable monthly income and compares it with the income they want.
What it calculates
A visitor enters current age, retirement age, savings, a monthly contribution, an expected return, inflation and the monthly income they would like in today’s money. The calculator returns:
- Projected nest egg — savings and contributions compounded month by month until retirement, shown either in future dollars or, with the Yes/No toggle ticked, in today’s money.
- Sustainable income — 4% of the pot per year, divided by twelve (the 4% rule), in the same money as the nest egg.
- Gap versus target — the monthly shortfall or surplus against the wanted income, plus the percentage of the target that is funded.
- Extra saving needed — the additional flat monthly contribution that would close the gap by retirement.
- Year-by-year chart — stacked bars of what was paid in and what growth added at every age, with a dashed line marking the pot the target requires.
How it’s built
Seven Number fields collect the assumptions and one Yes/No field switches between future dollars and today’s money (a checked box arrives in PHP as 'Y', an unchecked one as 'N'). A small script in the Form Layout ticks the box when the page loads.
The PHP Code loops through the months, keeps a snapshot at each year end, applies the 4% rule and builds the chart as plain HTML: each year is a stacked column sized in percent, and the target line is a positioned dashed rule. No chart library and no spreadsheet are needed.
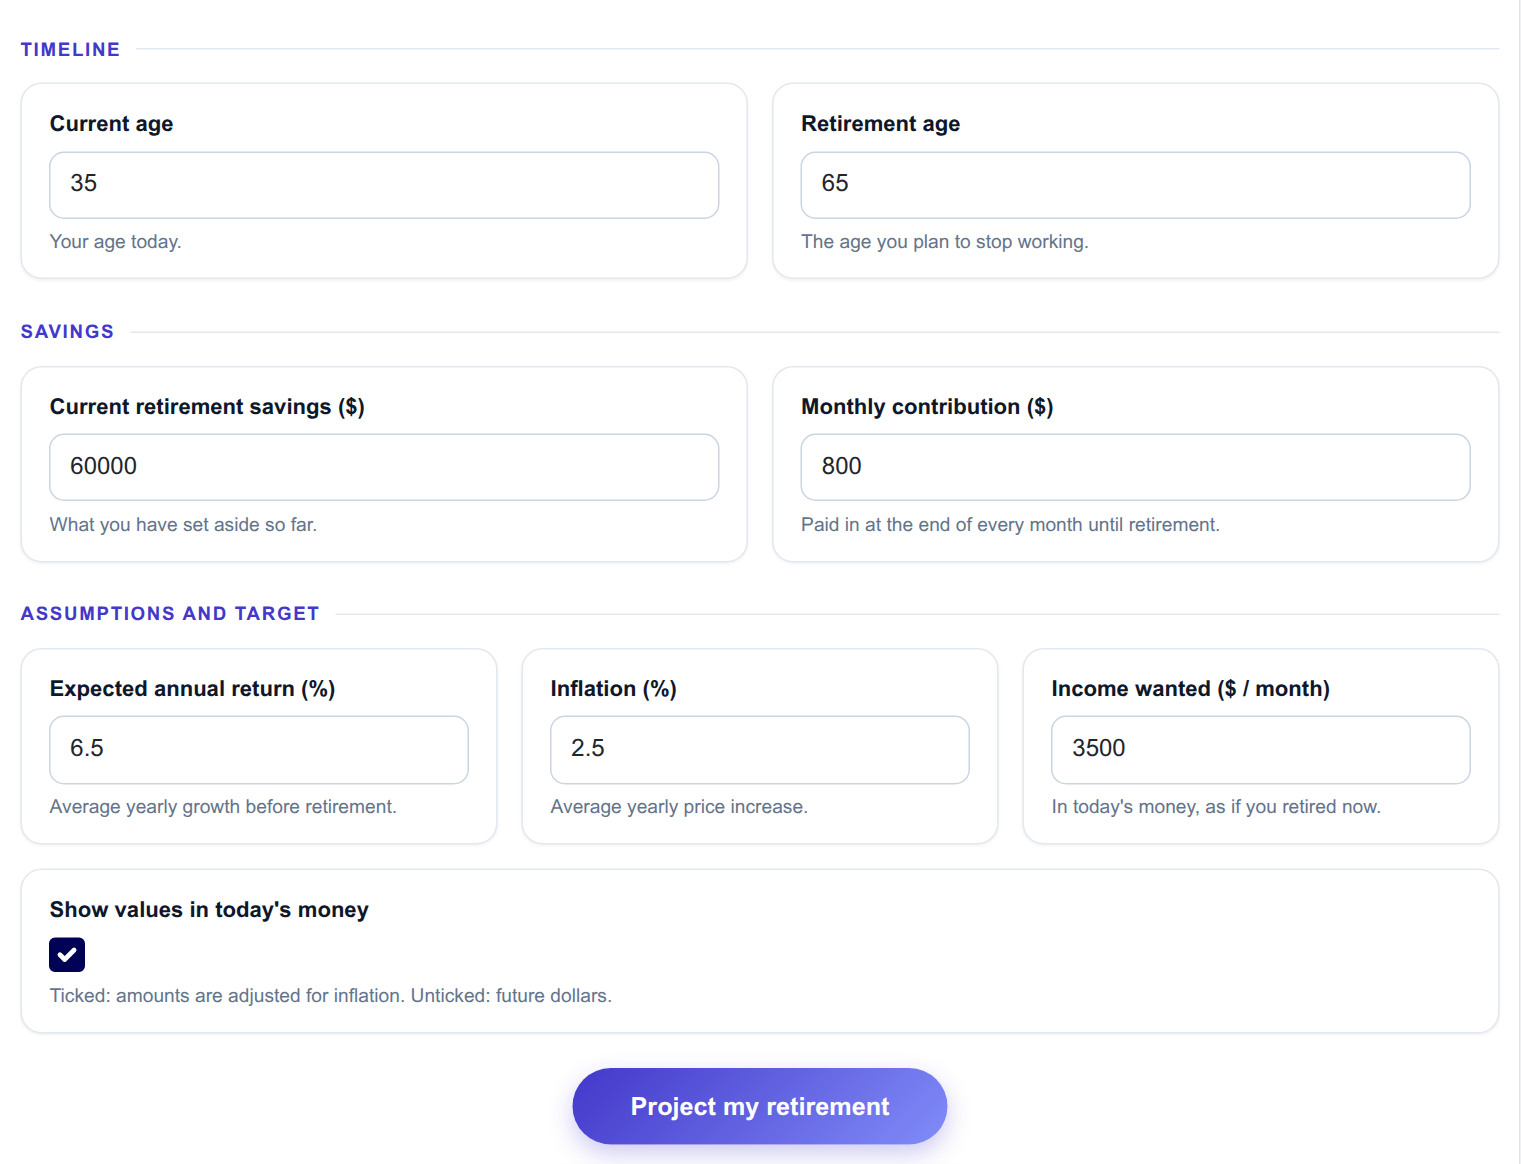
The input form as your visitors see it, styled with the Form Layout.
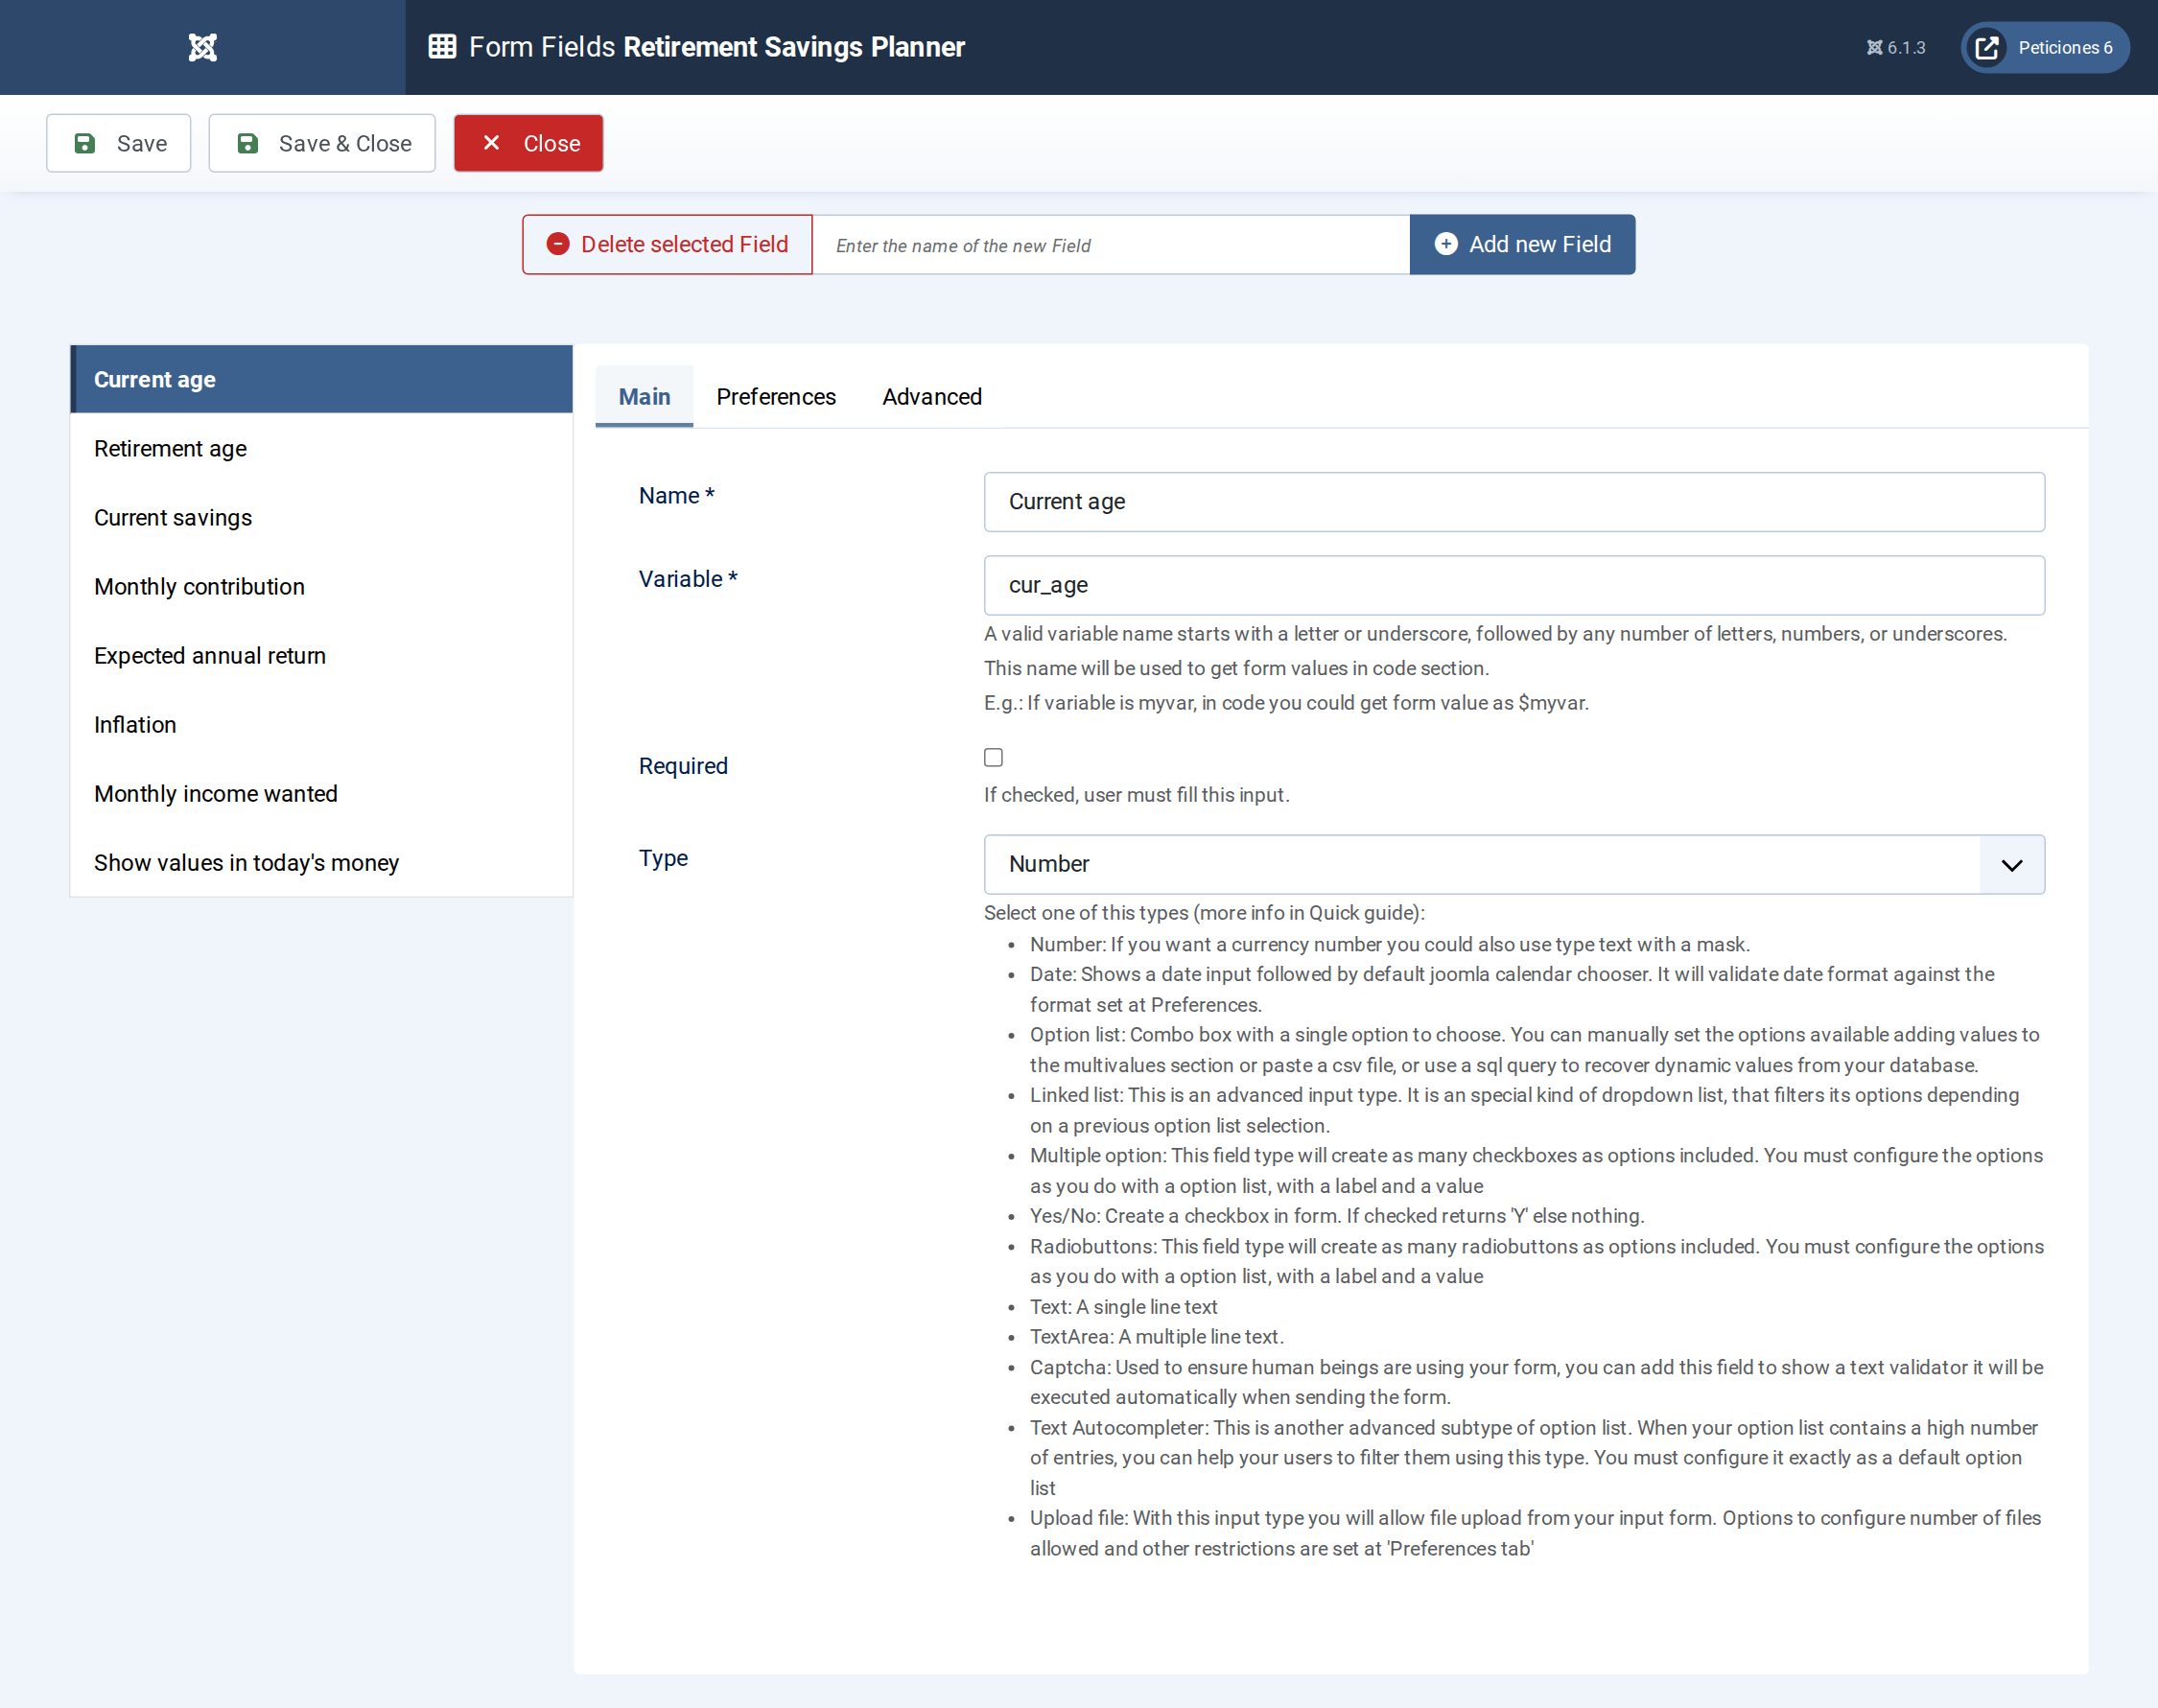
Eight fields: seven Number fields and a Yes/No toggle.
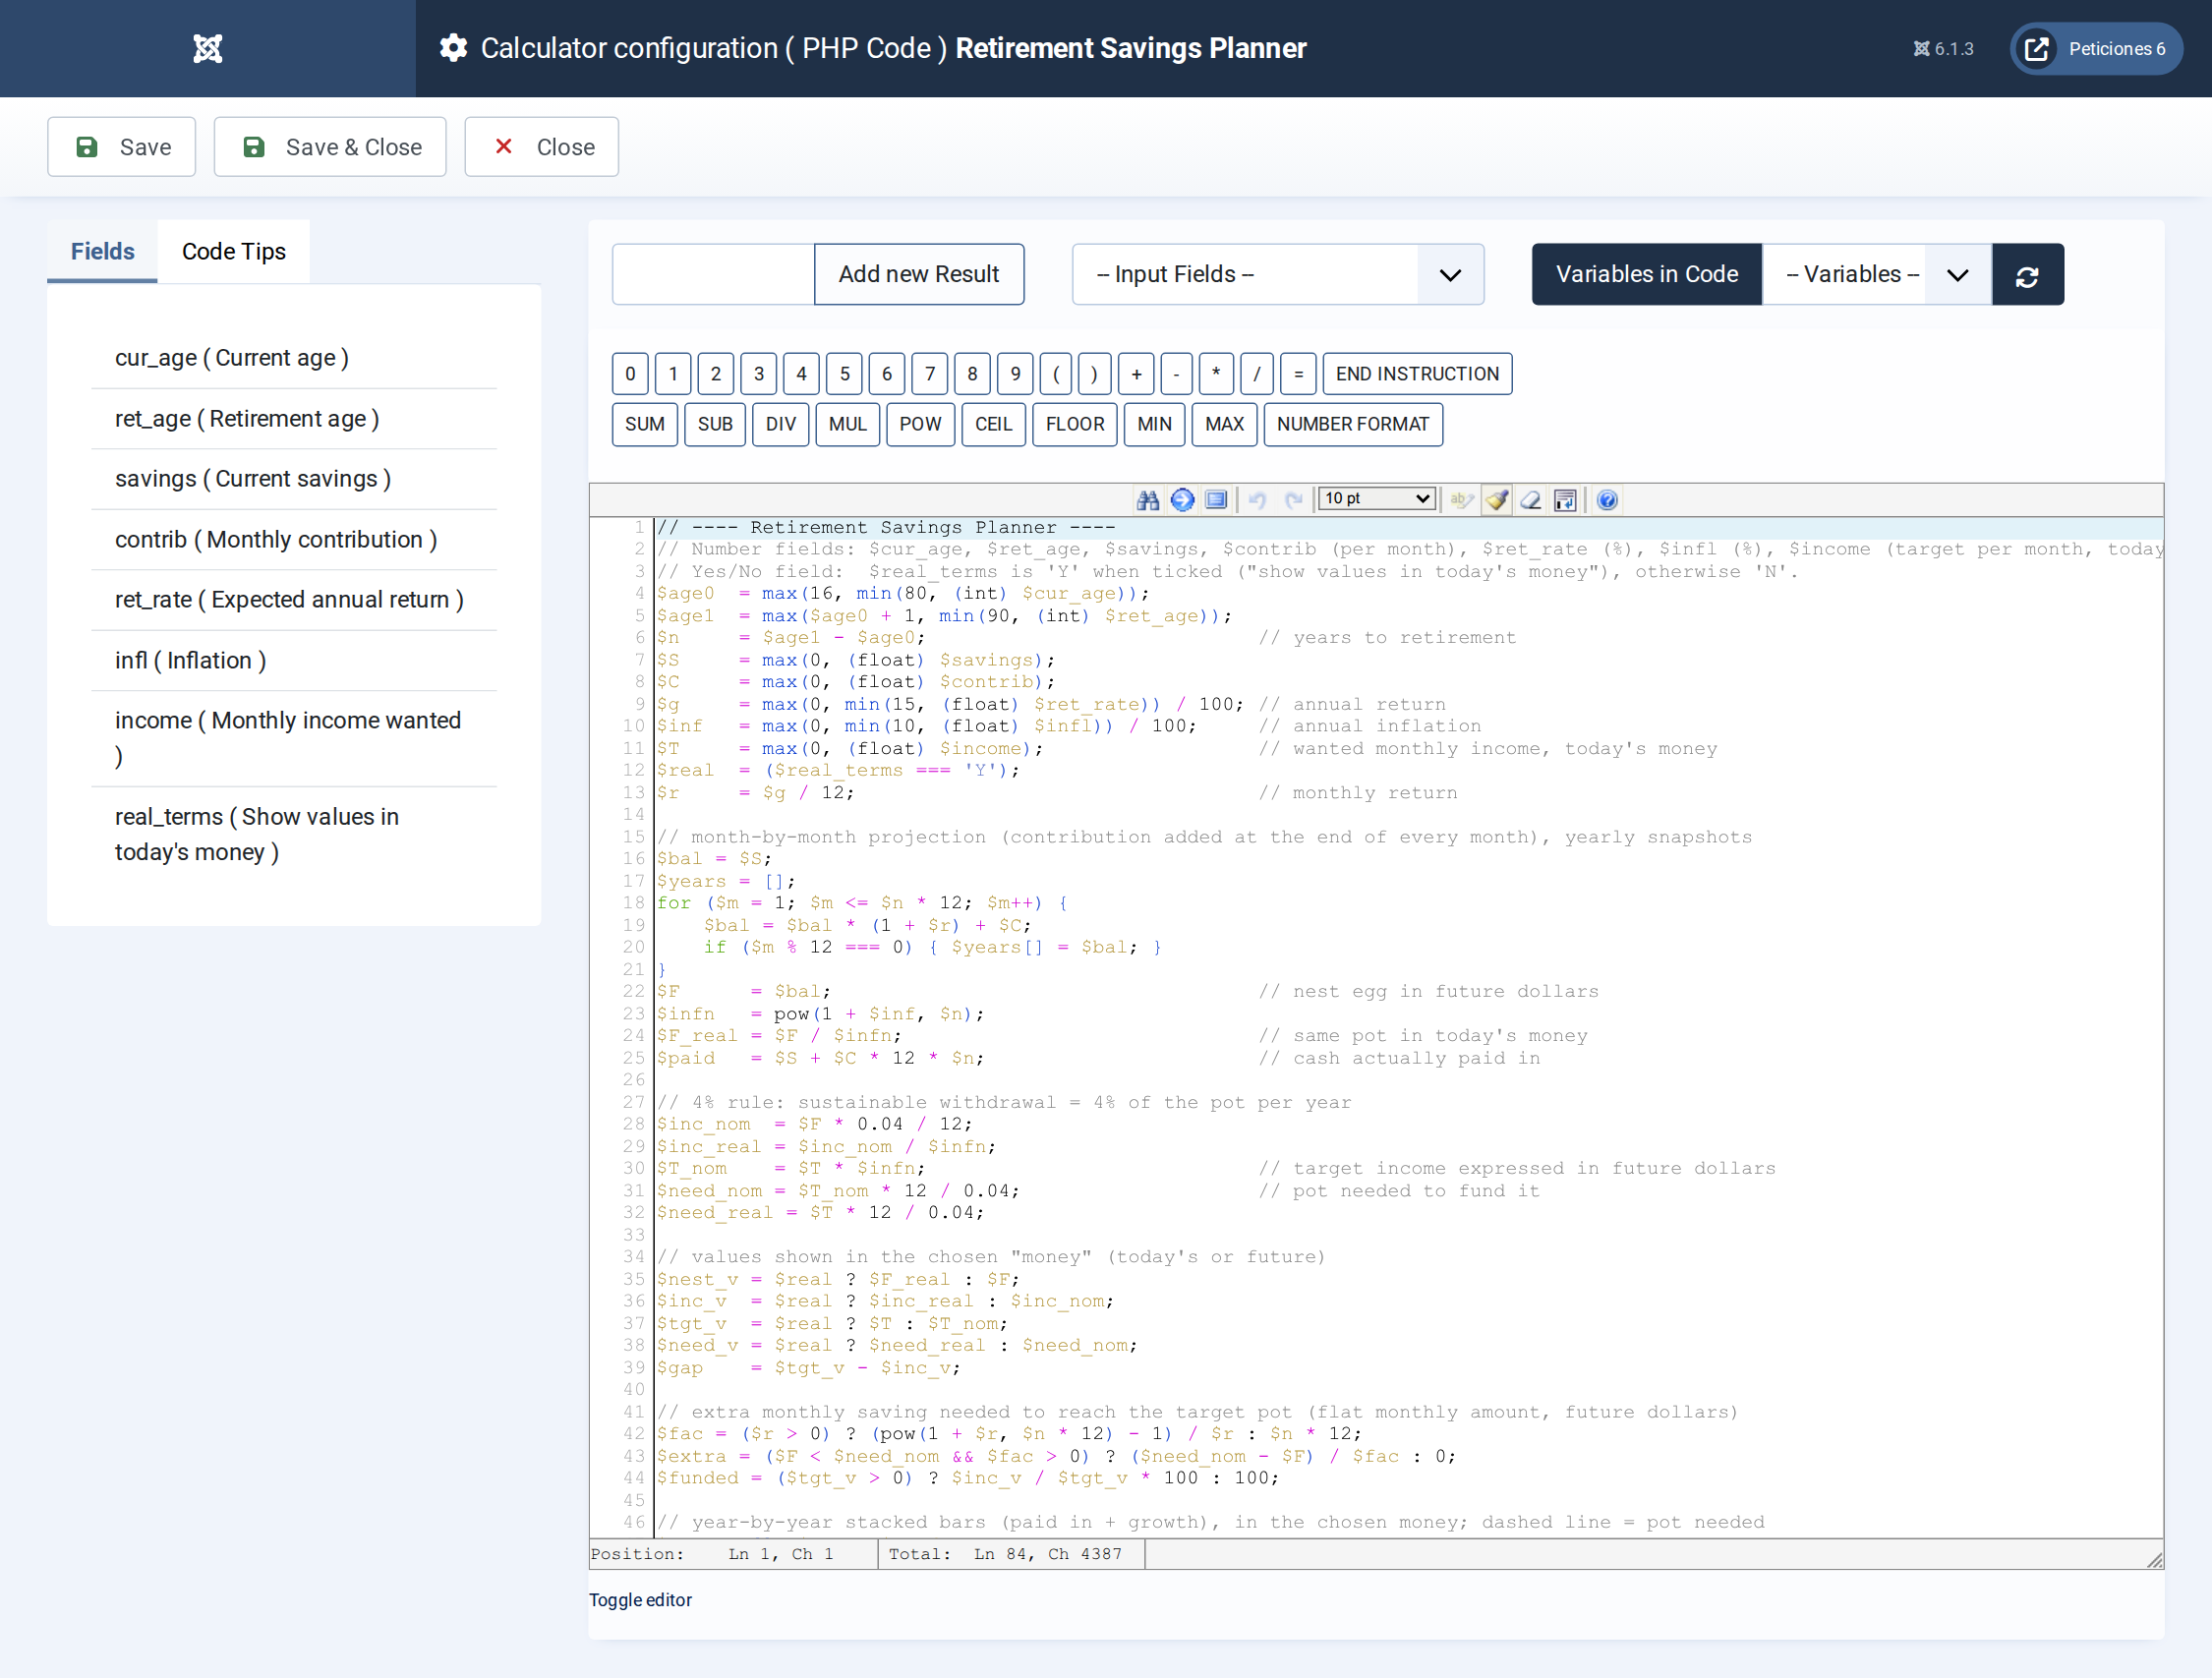
Month-by-month compounding, inflation adjustment, the 4% rule, the gap and the chart markup.
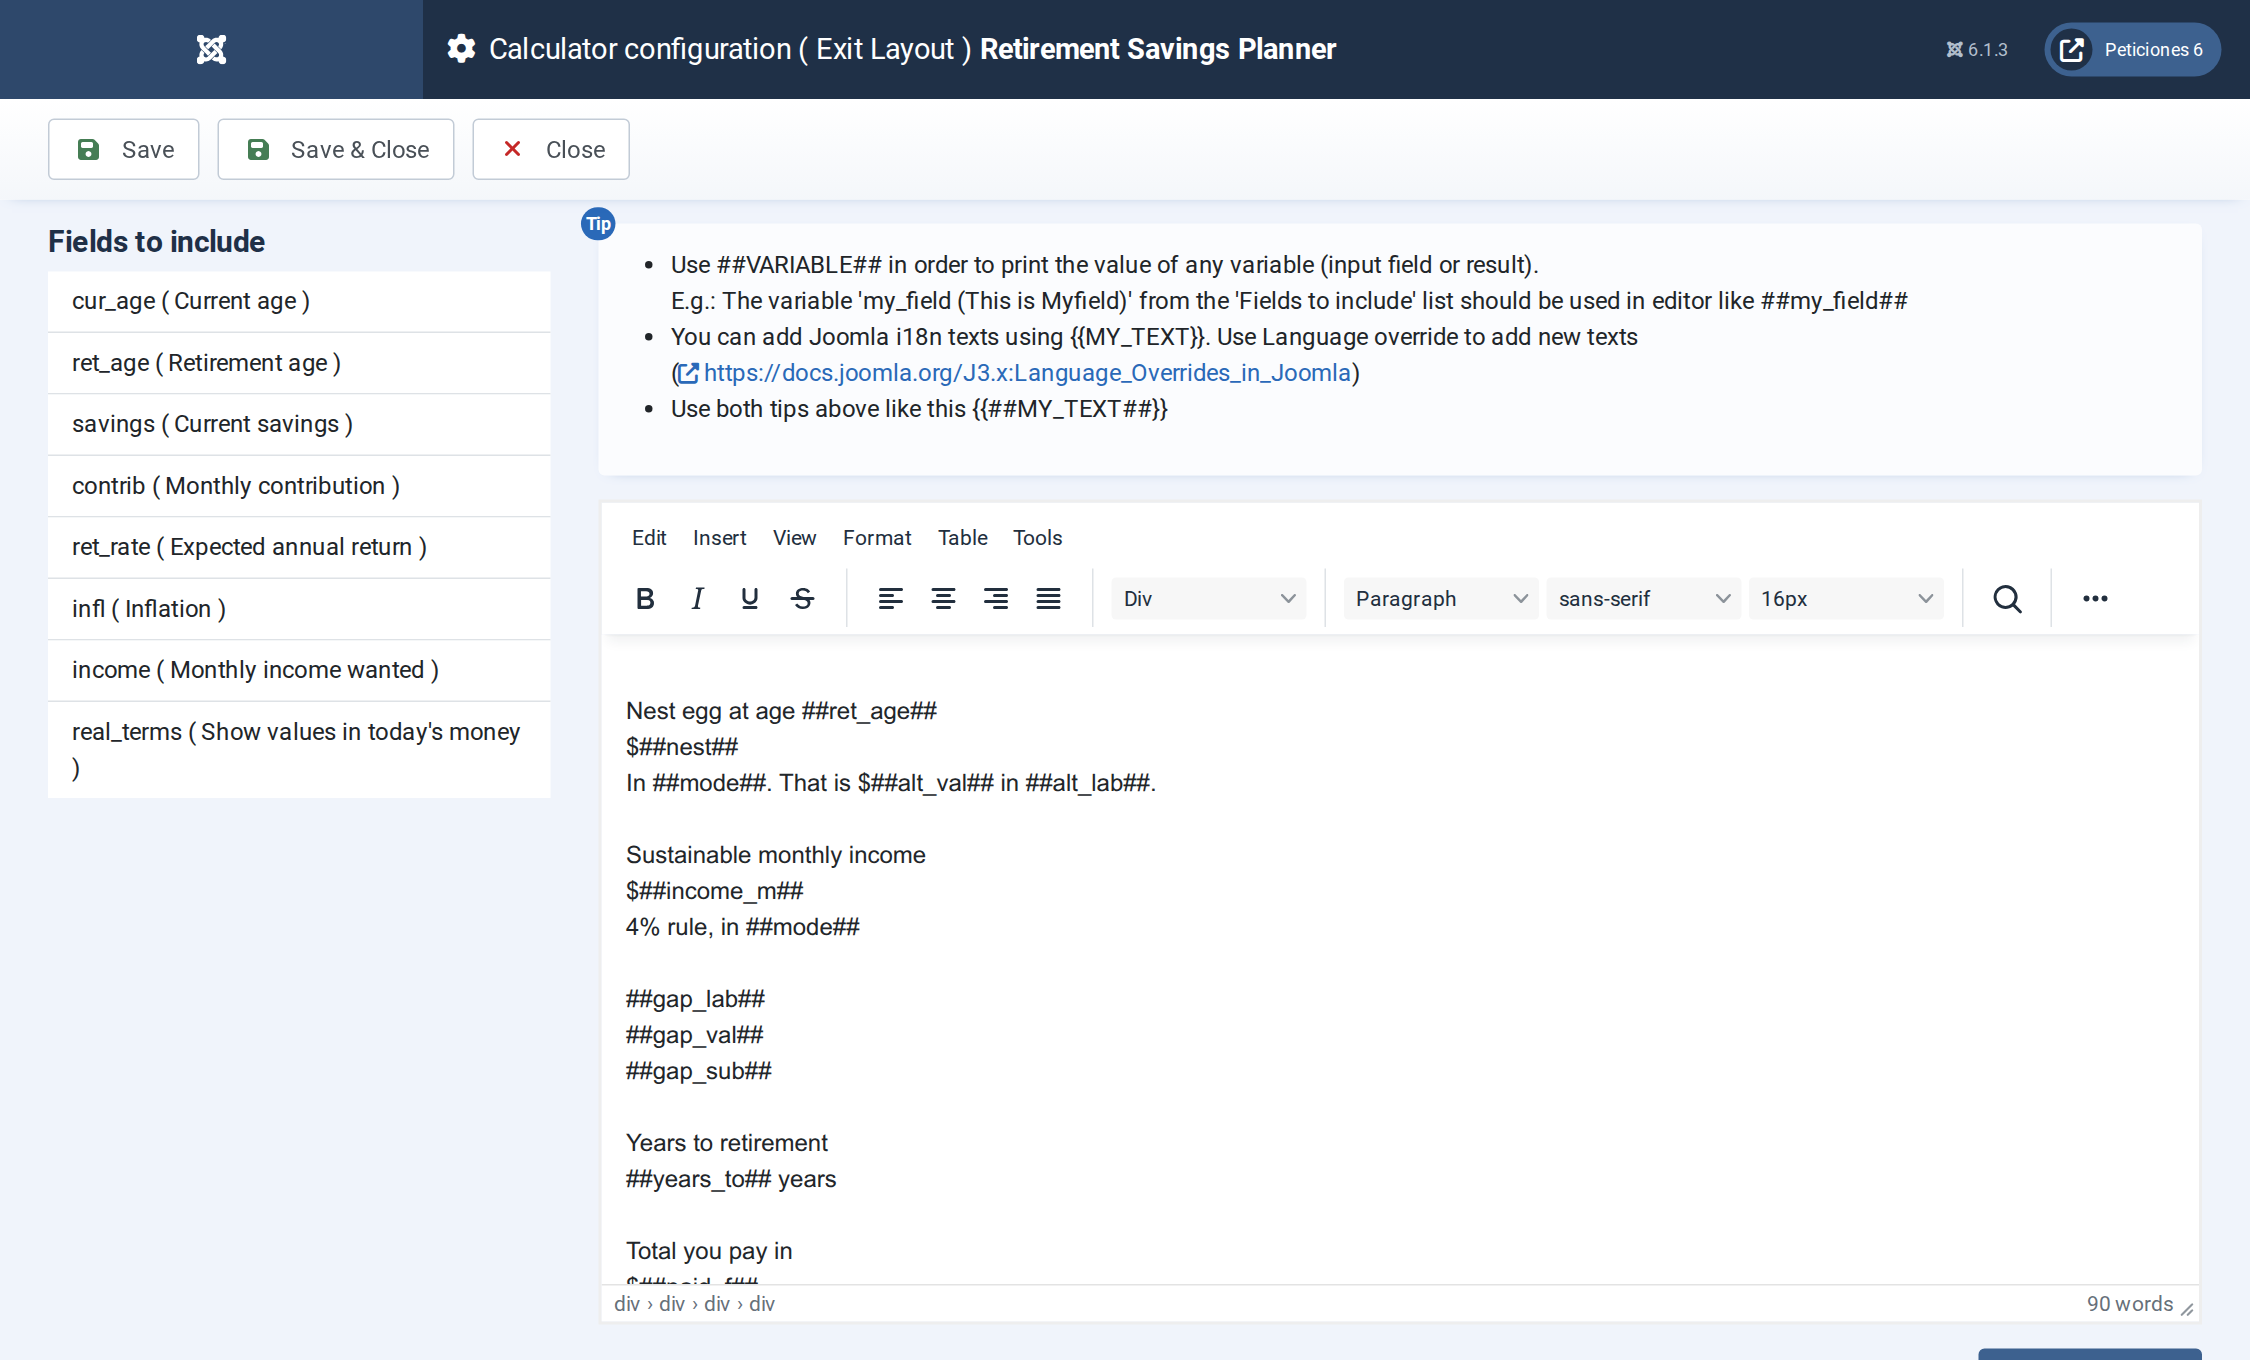
The Exit Layout: three hero cards, four metric cards and the chart panel with a legend.
Want this exact example on your own site?
Download the file above, then in your Joomla admin open Components › CalcBuilder › Import and upload it — it's the same file you'd get from that component's own Export button, so it drops in as a ready-to-use, fully working copy in one step.